Getting started for owners
This page takes you in seven steps from your first sign-in to your first planned appointment. You work in the browser on a computer.
1. Sign in
- Open your company's address in the browser. It ends in "eelikfield.com".
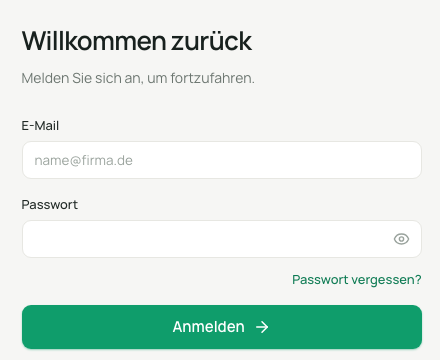
- Enter your email address and your password and click "Sign in".
- Forgot your password? Click "Forgot password?", enter your email address and choose "Send link". You will receive a link to reset it.
The first time you sign in, the "Initial setup" may appear. It asks for the company details, the default language and the colleagues you want to invite. Every step can be skipped and done later in the settings.
On the "Overview" you will also find the "Getting started" card. It ticks itself off as soon as the data is there.
2. Set up the company
Open "Settings". The sections are on the left. Most settings can only be changed by owners and administrators.
| Group | Sections |
|---|---|
| Company | "Company profile", "Branding", "Languages" |
| Team & access | "Users" |
| Processes | "Business hours", "Working hours", "Skills per category", "Article categories", "Kanban actions", "Inquiry automation", "Checklist templates", "Completion policy" |
| Privacy | "Location and place data", "Privacy and customers" |
| AI & notifications | "AI assistant", "Notifications" |
| System | "Number ranges", "Audit log" |
Company profile
Enter the company name, legal form, phone and contact email. Customers see the phone and the contact email in the portal and on documents. Also check the country, currency, time zone and default language. Under "Branding" you upload your logo (PNG, JPEG or WebP) and choose the primary colour.
Working hours
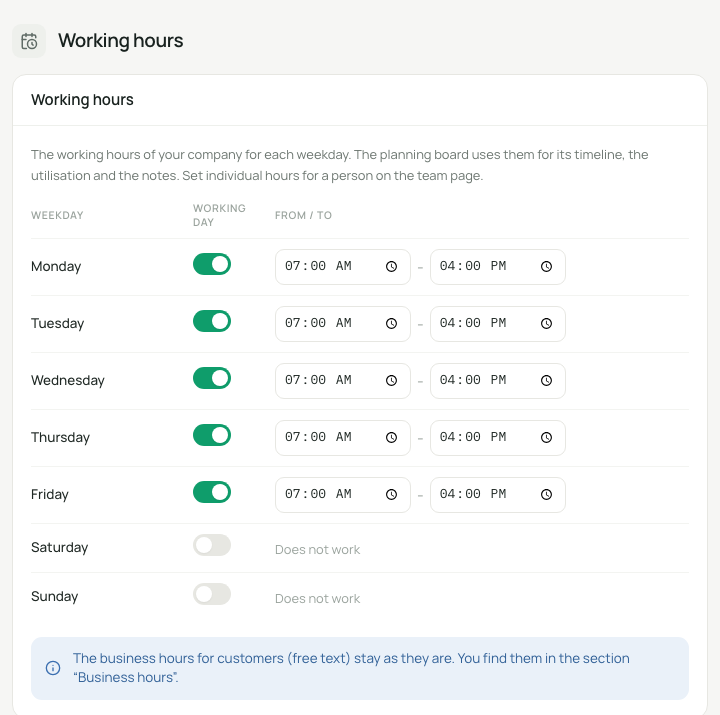
Under "Working hours" you set the company's working time for each day of the week: "Working day" on or off, plus "From" and "To". With "Use the default (Mon to Fri, 07:00 to 16:00)" you set Monday to Friday, 07:00 to 16:00.
The planning board bases its timeline, its utilisation and its notes on this working time. For individual people you can set their own hours on the Team page (see step 3).
The "Business hours" are something different: that is free text for your customers and has no effect on the planning board.
Language
Under "Languages" you set the default language. It is preselected for new customers and documents. Customers see the portal in their own language. German, Slovenian, Bosnian and English are available. In the app, everyone chooses their own language under "Settings".
Privacy switches
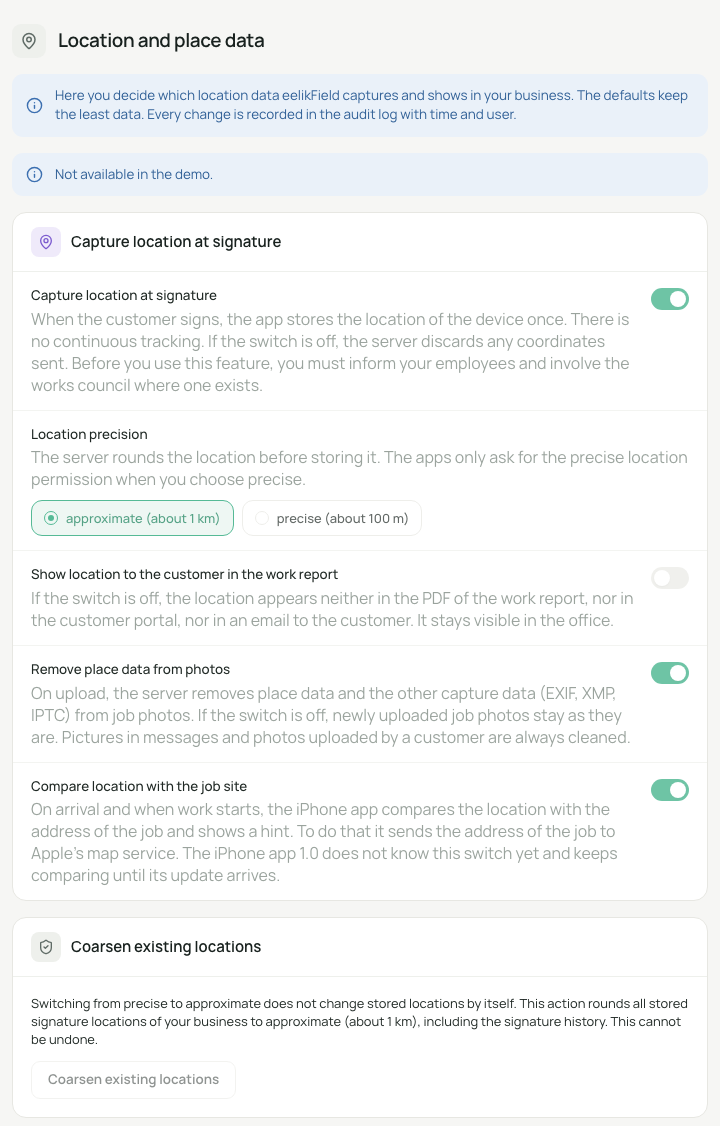
The defaults are the choice that saves as little data as possible. Every change is recorded with the time and the user in the "Audit log". Check these switches before you let technicians work:
- "Capture location at signature" (default: on): When the customer signs, the app saves the device's location once. There is no continuous tracking. Inform your employees beforehand and, where there is one, involve the works council.
- "Location precision" (default: "approximate (about 1 km)"): The server rounds the location before saving it.
- "Show location to the customer in the work report" (default: off).
- "Remove place data from photos" (default: on).
- "Compare location with the job site" (default: on): On arrival and when work starts, the iPhone app compares the location with the address of the order and shows a notice. To do this, it sends the order's address to Apple's map service. Version 1.0 of the iPhone app does not know this switch yet and keeps comparing until its update arrives.
- "Email the work report to the customer automatically after completion" (default: on).
- "Address of your privacy policy": If you enter an address (it must start with https://), the customer portal shows a "Privacy" link to it.
3. Invite employees
If you are the only person in the company, you can skip this step.
- Open "Team" and click "Invite user".
- Enter the email address and choose the "Role".
- Click "Create invitation". If email sending is set up, the invitation is sent by email ("Invitation sent by email."). Otherwise copy the link with "Copy" and send it yourself.
- The link is valid for 7 days and is shown only once.
You can see open invitations on the "Invitations" tab. There you can renew them with "Resend" or withdraw them with "Revoke".
If a technician has no email address, choose "Add technician". The name is enough. They then receive their app access by link or QR code (see Install and set up the app).
You set individual working hours in the person's row: "Change working hours". The options are "As company", "Individual hours" and "Does not work". Enter holidays and sick leave on the "Absences" tab with "Log absence".
4. Create customers and locations
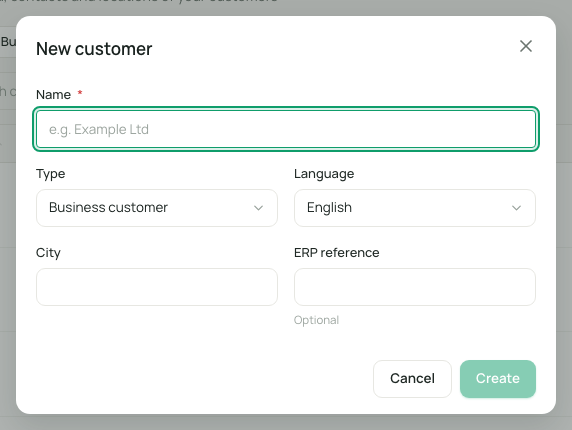
Customer. Open "Customers" and click "New customer". The name is required. You also choose the type ("Business customer" or "Private customer"), the language and the city.
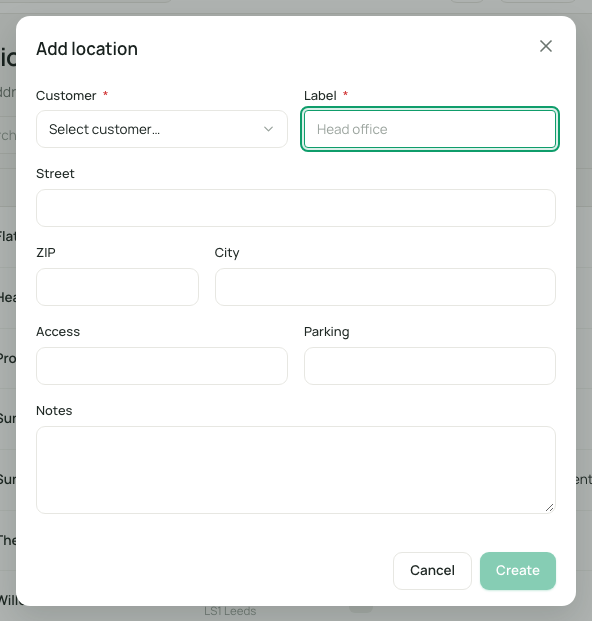
Location. Open "Locations" and click "Add location". "Customer" and "Label" are required. Enter street, postcode and city. Under "Access" and "Parking" you can leave notes for the technician. They appear later in the app on the job.
5. Create an order
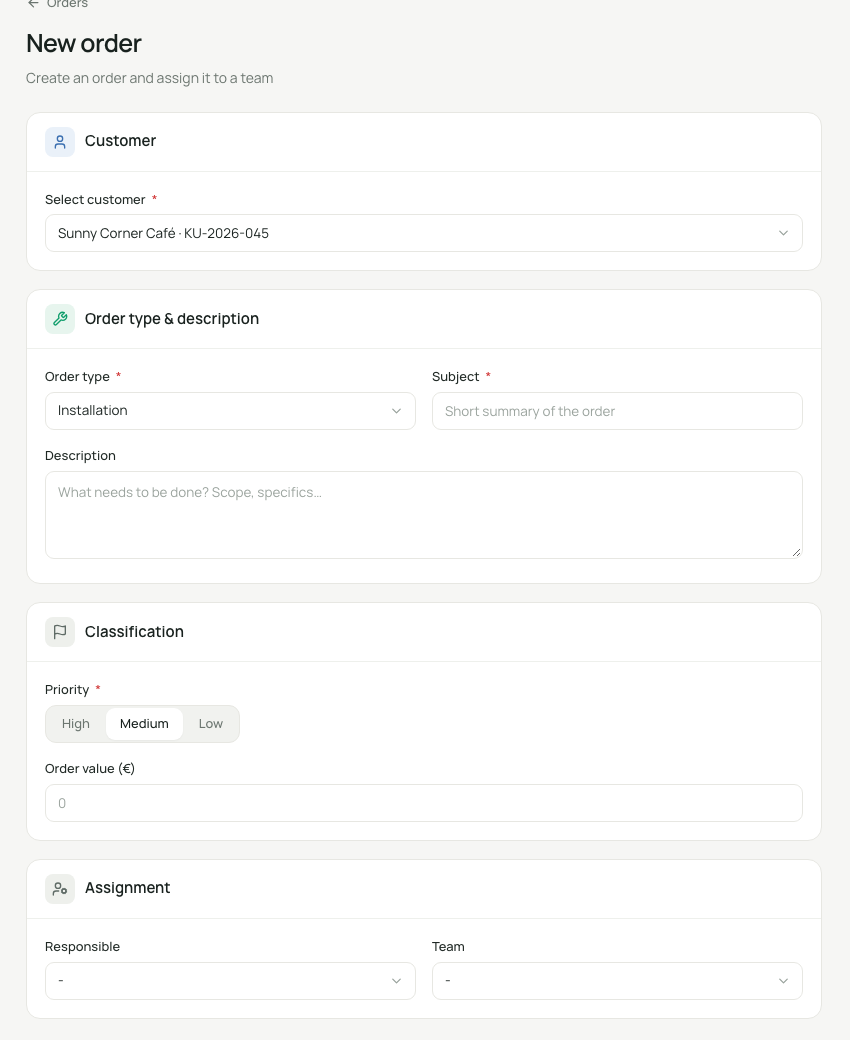
- Open the "New order" page (on the "Overview", via the "Getting started" card with "Create order", or via "Orders").
- Required fields are marked with *: "Select customer", "Order type" (installation, maintenance, repair, inspection), "Subject" and "Priority".
- Optional: "Description", "Order value", "Responsible" and "Team".
- Click "Create order".
If you carry out the order yourself, choose yourself under "Responsible". The order then appears in your app under "Jobs".
6. Appointment on the planning board
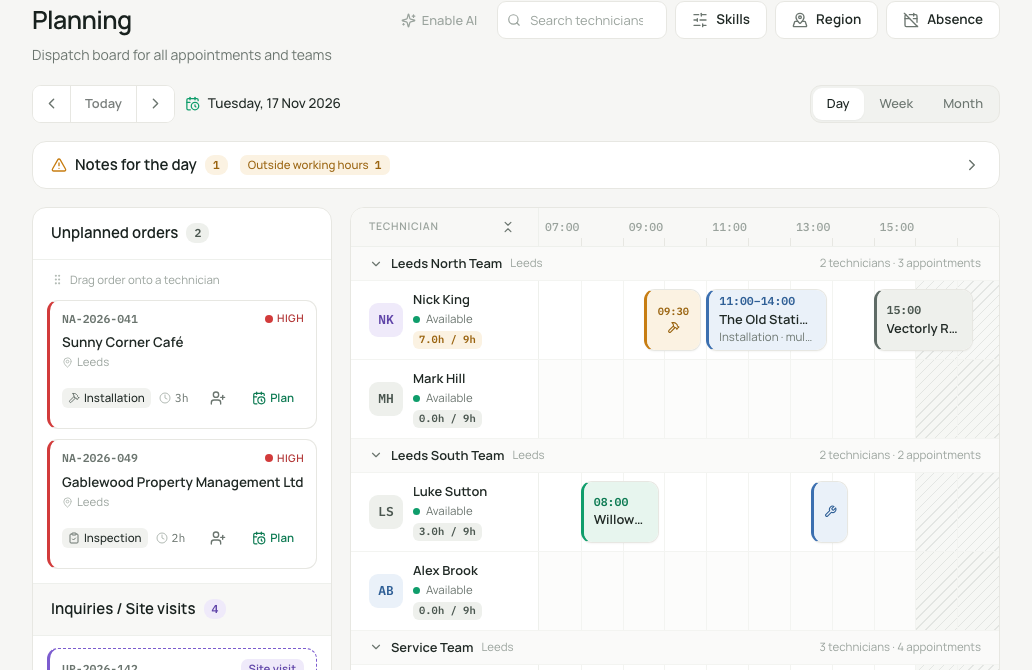
- Open "Planning". At the top, choose the view "Day", "Week" or "Month".
- Unplanned orders are in the sidebar. Click "Plan" on an order, or drag it onto the person's row and the day.
- In the "Plan appointment" window, set "Date", "From" and "To" and add a "Note" if you like.
- If there is an overlap or an absence, the planning board asks for confirmation ("Scheduling conflict", "Technician absent"). Confirm with "Schedule anyway".
In the technician's app, the appointment appears on the planned day under "Today".
7. Schedule yourself
Technicians appear on the planning board automatically. Owners, administrators, office and dispatch appear there only if a switch is turned on. As long as nobody can be scheduled, the planning board shows "Nobody to schedule yet".
- Open "Team" and click your own row in the list.
- Switch on "Also works in the field". After that it says "(Your name) can now be scheduled." Your role and your rights in the office stay the same.
- On the planning board you now appear with the label "Field". Schedule yourself like anyone else (step 6).
- In your app you see the appointment under "Today" and under "Jobs".
So that the app shows your appointments, set it up next: Install and set up the app.